All of the following text and images are courtesy of Mike Clemens,
all rights reserved. (Web admin's note: pictures are posted next to each
step and my changes are in parentheses - click on the smaller image for
a full sized version).

 |
After you have removed to door panel and before you do anything
else, PUT DUCK TAPE ON ALL THE SHARP EDGES INSIDE THE DOOR!!!
I can't stress how important this is---you "will" be donating
blood if you don't, because you will have to have both hands inside
the door at the same time.
This area is very small and not much room to maneuver.
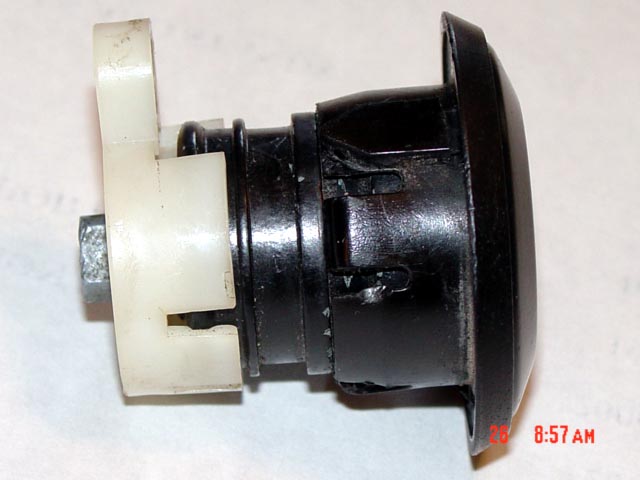
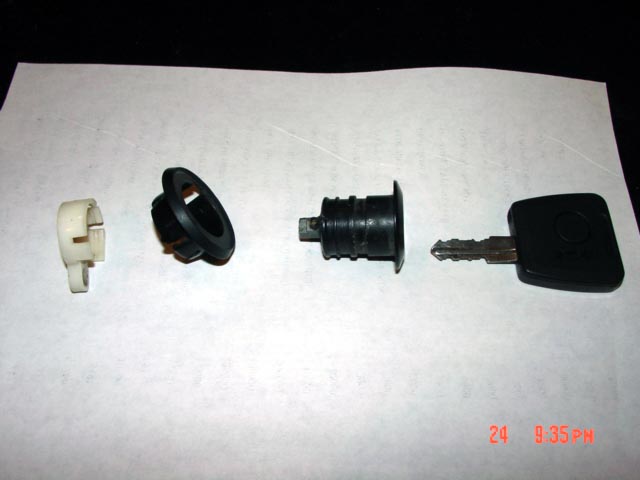
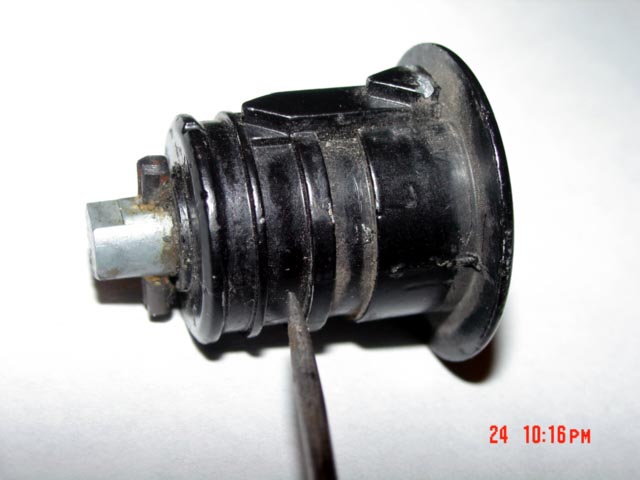
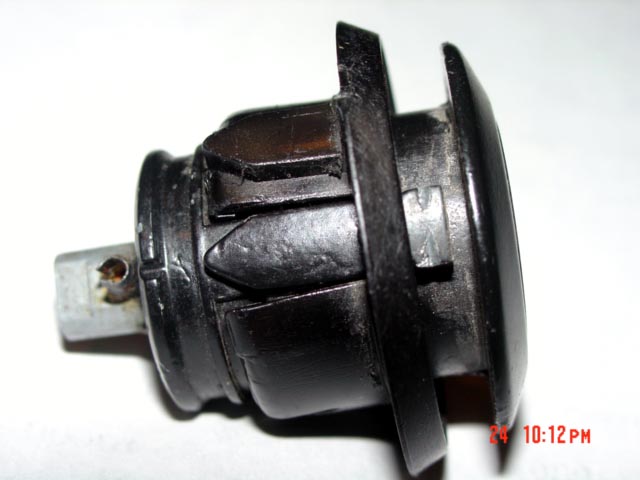
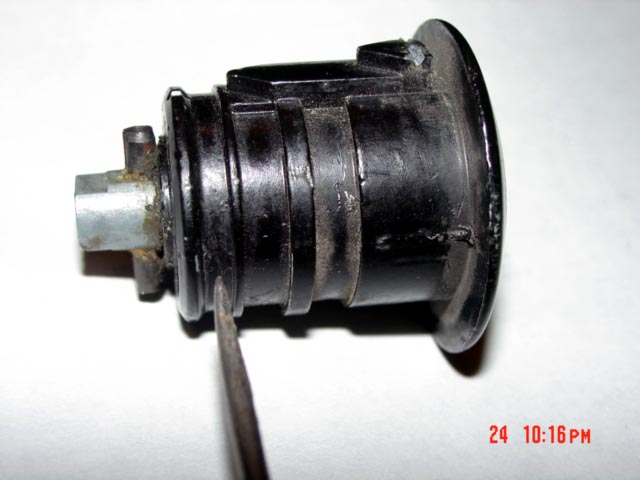
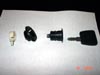
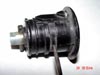
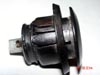
(upper left picture) is what the lock looks like when mounted in
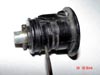
the door and (lower left picture) shows what you are trying to
achieve---all separated. |
 |
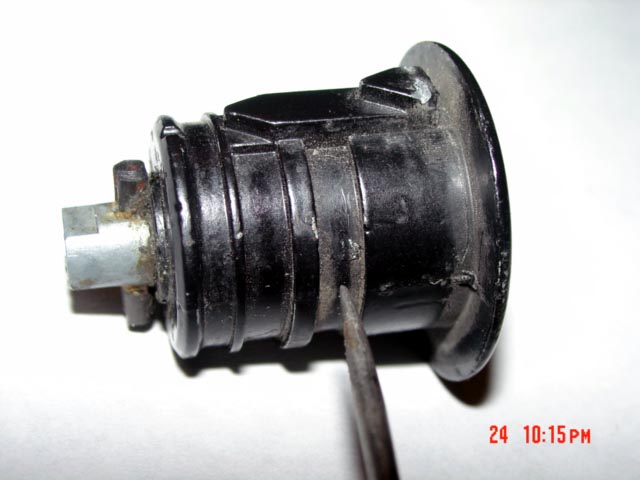
Disconnect the rod that is attached to the white plastic part on
the back of the lock and move it to the side.
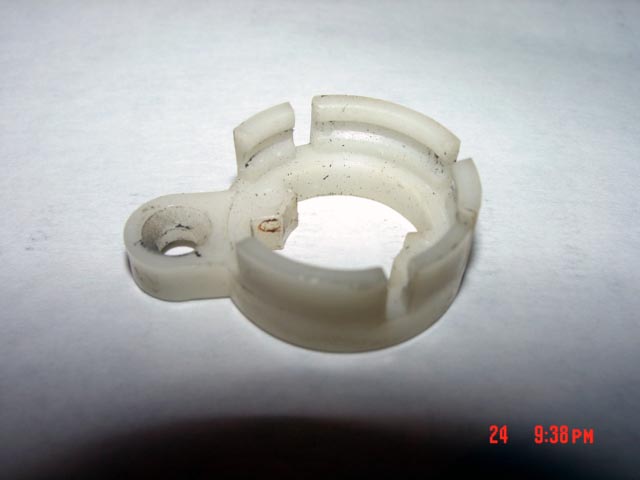
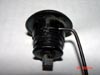
Remove the white plastic piece by prying off and and take a close
look at it's backside. (Picture on the left) You will notice it has
5 'tabs' that hold it to the lock.
Notice they beveled on both sides for for easy installation and
removal. Now lay it to the side. (Don't lose it) |
 |
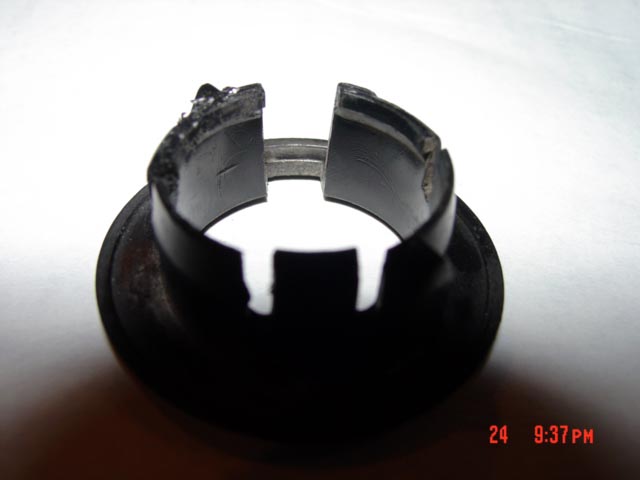
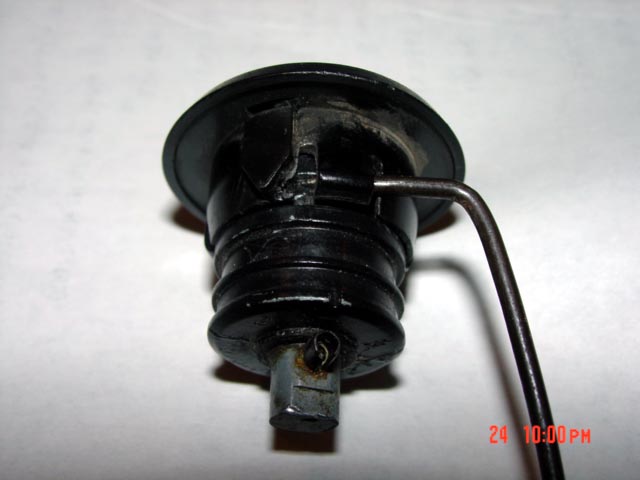
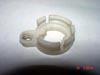
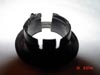
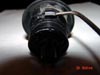
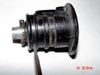
The lock is held in the door by three little similar 'tabs' on
the black plastic security ring that look like small hooks. (upper
left picture)---two wide ones and a skinny one)
They are beveled on the top side for easy insertion, but flat on
the bottom so they 'lock' into the security ring. (lower left
picture)
They can be pried up a little, but not too much or they will
break. |
 |
Okay, duck tape in place, right??
Now take one of the right angle picks and get the pick under one
of the plastic tabs (upper left picture)---there are three total).
The 'tabs' only need to be raised about 1/16 to 1/8 of an inch.
(lower left picture) Once you have one of the 'tabs' levered up,
take a second pick and lever it under another tab. |
 |
Once you have both picks in place, insert your key into the lock
on the outside.
Using the key as a lever, gently rock the lock fore and aft (do
not twist the key). This will allow the 'tabs' to slip into the
second indentation ring. (Picture on the left)
If this doesn't work, you will then need to get a third pick
under the third tab. |
 |
Now you're halfway there, because the little 'tabs' are now
seated in the second security ring.(upper left picture)
Repeat steps 4 & 5 to slip the 'tabs' out of the second ring.
Once you are past the second ring, to the third ring, (lower left
picture) the lock will come out of the door with a slight twisting
motion and you will be able to remove the plastic security ring from
the metal lock barrel. |
| |
If rocking the lock with your key does not work, then you will
need to use a long screwdriver to push outward on the lock from the
inside. Just remember, take it slow and make sure the picks are
under the 'tabs'.
The locks were designed to be installed with no tools, but to be
theft proof, in case someone has decided they want to steal you car
by removing the locks. |
| |
Installation is simple, in that all you need to do is reverse the
steps and when you push on the metal barrel from outside, the 'tabs'
will automatically snap into place.
Snap on the white plastic piece and hook up the locking rod. |
| |
The first time I did this, it took me a couple days by trial and
error, because I didn't know how the system was designed and I had
to spend a lot of time looking in that little mirror.
Now I can do the wholejob in about an hour. |